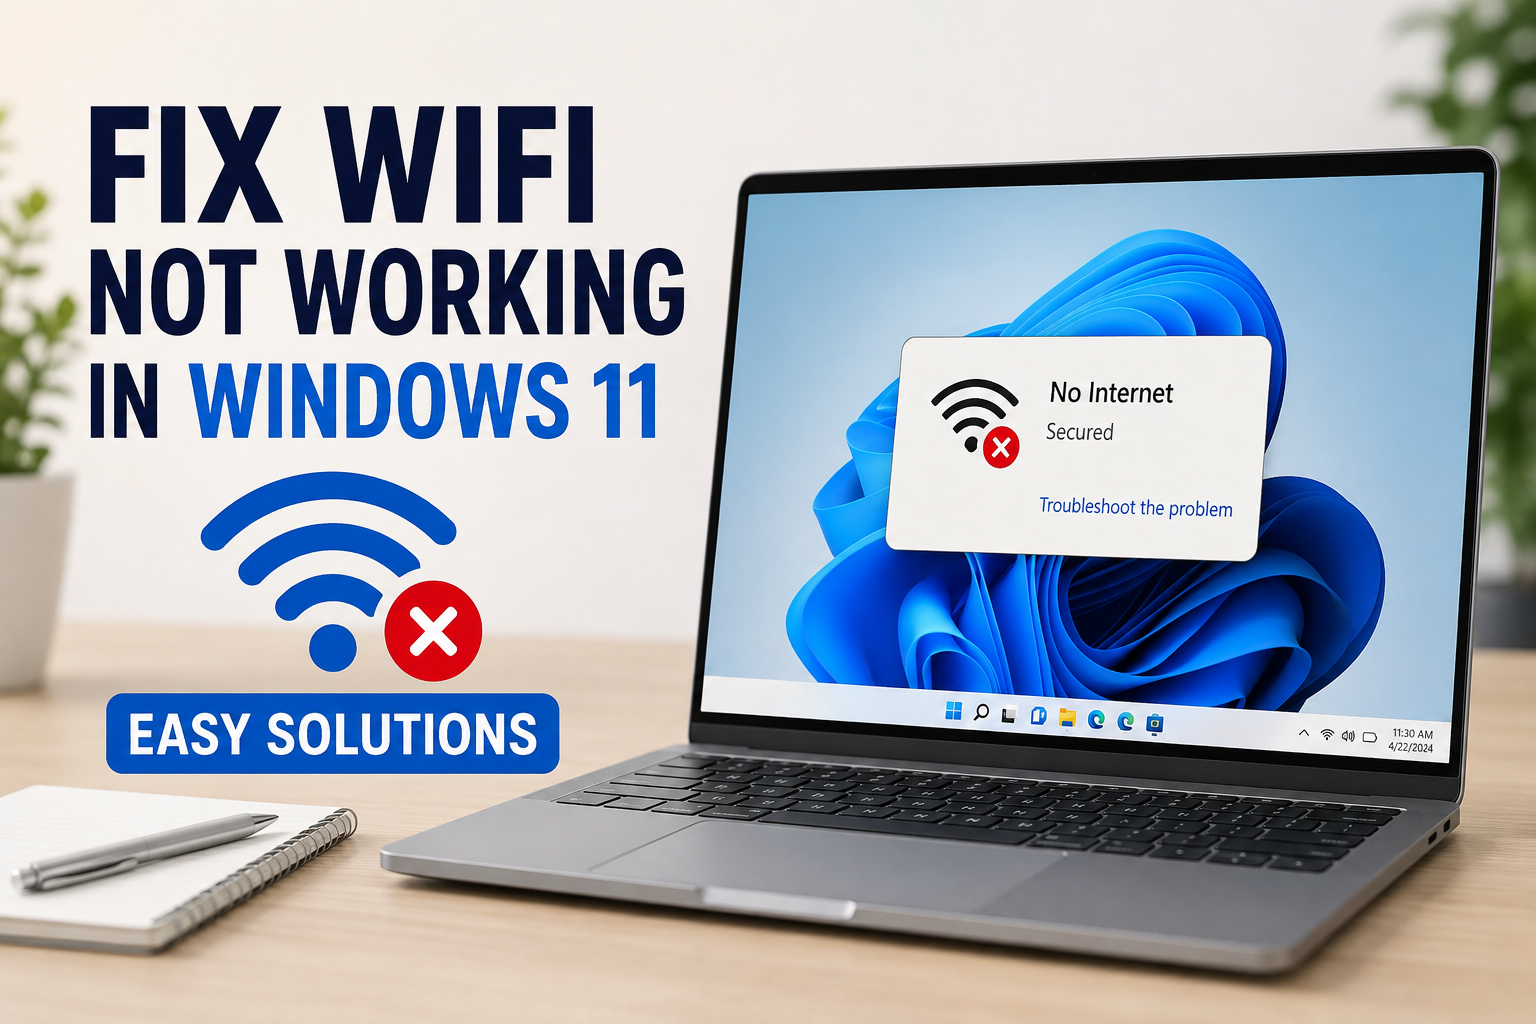
A stable internet connection has become an important part of our daily life. Whether I am working, attending online meetings, watching videos, or simply browsing the web, I always expect my WiFi connection to work without any problems. Unfortunately, there are times when Windows 11 suddenly refuses to connect to WiFi, or the connection keeps disconnecting again and again. I have personally experienced this issue several times, and I know how frustrating it can be.
The good news is that most WiFi problems in Windows 11 are not caused by damaged hardware. In many cases, the issue is related to software settings, outdated drivers, or incorrect network configurations. Over time, I have learned several simple methods that helped me restore my internet connection within minutes. In this article, I will share the same solutions that have worked for me and many other Windows users.
Why WiFi Stops Working in Windows 11
Before fixing the problem, it is important to understand what might be causing it. Sometimes Windows updates change network settings. Other times, outdated WiFi drivers create compatibility issues. A weak router signal, corrupted network files, or incorrect adapter settings can also prevent Windows from connecting to the internet.
Identifying the possible reason makes troubleshooting much easier and saves time.
Restart Your Computer and Router
Whenever my WiFi suddenly stops working, the very first thing I do is restart both my computer and my WiFi router.
This simple step may sound basic, but it often solves temporary software glitches. Turn off your router, wait for about one minute, then turn it back on. At the same time, restart your Windows 11 computer.
After both devices restart completely, check whether the WiFi connection has returned.
Make Sure WiFi Is Turned On
Sometimes the problem is much simpler than we think. Windows 11 includes a WiFi toggle that can accidentally be turned off.
Click the network icon on the taskbar and make sure WiFi is enabled. If Airplane Mode is active, disable it because Airplane Mode automatically turns off wireless connections.
Many people overlook this small setting and spend hours searching for complicated solutions.
Forget and Reconnect to the WiFi Network
If your computer detects the network but refuses to connect, forgetting the saved network often fixes the issue.
Open Settings.
Select Network and Internet.
Click WiFi.
Open Manage Known Networks.
Choose your WiFi network.
Click Forget.
Now reconnect by entering the WiFi password again.
This creates a fresh connection between Windows and your wireless router.
Run the Windows Network Troubleshooter
Windows 11 comes with a built in troubleshooter that automatically checks for common networking problems.
Open Settings.
Select System.
Click Troubleshoot.
Choose Other Troubleshooters.
Run the Network and Internet troubleshooter.
The tool will scan your system and automatically repair many common network issues without requiring technical knowledge.
Restart the WiFi Adapter
Sometimes the wireless adapter gets stuck because of temporary software conflicts.
Press Windows plus X.
Select Device Manager.
Expand Network Adapters.
Right click your WiFi adapter.
Choose Disable Device.
Wait a few seconds.
Enable it again.
After restarting the adapter, try connecting to your wireless network.
Update Your WiFi Driver
One of the most common reasons behind WiFi issues is an outdated driver.
I always make sure my drivers stay updated because newer versions improve performance and fix compatibility issues.
Open Device Manager.
Expand Network Adapters.
Right click your wireless adapter.
Choose Update Driver.
Select Search Automatically for Drivers.
If Windows finds a newer version, install it and restart your computer.
Updated drivers often solve connection drops and slow internet speeds.
Reinstall the Wireless Driver
If updating does not help, reinstalling the driver may solve corrupted installation files.
Open Device Manager.
Locate your wireless adapter.
Right click it.
Choose Uninstall Device.
Restart your computer.
Windows will automatically reinstall the correct driver during startup.
This process has fixed WiFi problems for me more than once.
Reset Network Settings
Incorrect network settings sometimes prevent Windows from communicating properly with your router.
Windows 11 includes a Network Reset feature that restores all networking components to their default configuration.
Open Settings.
Go to Network and Internet.
Choose Advanced Network Settings.
Select Network Reset.
Click Reset Now.
Restart your computer after the reset finishes.
You will need to reconnect to your WiFi network by entering the password again.
Check Windows Updates
Although Windows updates sometimes introduce bugs, they also include important fixes for networking problems.
Go to Settings.
Select Windows Update.
Click Check for Updates.
Install every available update.
Restart your PC after installation.
Microsoft frequently releases improvements for wireless connectivity.
Reset TCP IP Configuration
Network communication depends on TCP IP settings. If these settings become corrupted, your WiFi connection may stop working.
Open Command Prompt as Administrator.
Type the following commands one by one.
ipconfig /release
ipconfig /renew
ipconfig /flushdns
netsh winsock reset
Restart your computer after running these commands.
This refreshes important networking components and often restores internet access.
Check Power Management Settings
Windows sometimes turns off the WiFi adapter to save battery power, especially on laptops.
Open Device Manager.
Expand Network Adapters.
Open the properties of your WiFi adapter.
Go to the Power Management tab.
Remove the check from Allow the computer to turn off this device to save power.
Click OK and restart your computer.
This prevents Windows from disabling the wireless adapter unexpectedly.
Move Closer to the Router
Not every WiFi issue is caused by Windows itself.
Sometimes the router signal is simply too weak.
Walls, furniture, and electronic devices can reduce signal strength significantly.
If possible, move closer to the router and check whether your connection becomes stable.
You can also reposition your router in a more open location to improve coverage throughout your home.
Restart WLAN AutoConfig Service
Windows depends on the WLAN AutoConfig service for wireless connections.
Press Windows plus R.
Type services.msc.
Find WLAN AutoConfig.
Right click it.
Choose Restart.
If the service is stopped, start it manually.
This service is essential for detecting and connecting to wireless networks.
Disable VPN or Third Party Security Software
VPN applications and antivirus software sometimes interfere with network connections.
If you recently installed one of these programs, temporarily disable it and test your WiFi again.
If the connection starts working, adjust the software settings or install an updated version.
Check Your Router
Sometimes the issue is not your computer at all.
Try connecting another device such as your phone.
If no devices can access the internet, restart your router.
If the problem continues, contact your internet service provider.
Knowing whether the issue comes from Windows or the router saves a lot of unnecessary troubleshooting.
Perform a System Restore
If WiFi stopped working after installing software or updates, restoring Windows to an earlier point may solve the problem.
Search for Create a Restore Point.
Open System Restore.
Choose a restore point created before the problem appeared.
Follow the instructions to complete the restoration.
Your personal files remain safe, but Windows settings return to their previous state.
Keep Your System Clean
I have noticed that computers with unnecessary startup programs, outdated drivers, and old software experience more connectivity problems.
Keeping Windows updated, removing unwanted applications, and restarting the computer regularly helps maintain stable network performance.
Simple maintenance can prevent many WiFi issues before they happen.
Tips to Prevent Future WiFi Problems
I always follow a few habits that help keep my wireless connection stable.
Restart the router once every few weeks.
Keep Windows updated.
Install the latest WiFi drivers.
Avoid downloading software from unknown websites.
Use a strong WiFi password.
Place the router in an open location.
Restart your computer occasionally.
These small practices greatly reduce the chances of future connection problems.
Final Thoughts
WiFi problems in Windows 11 can seem stressful at first, especially when you need the internet for work or study. However, I have learned that most connection issues can be solved with simple troubleshooting steps. Restarting the router, updating drivers, resetting network settings, and checking Windows services usually resolve the problem without requiring professional help.
Whenever my WiFi stops working, I stay patient and test each solution one at a time instead of making random changes. This approach has helped me fix almost every wireless problem I have encountered. If you follow the methods shared in this guide carefully, there is a very good chance your Windows 11 WiFi connection will be working normally again within a short time.