Have you ever wanted to save something that appeared on your computer screen? Maybe it was an important email, an online receipt, a funny conversation, an error message, or a useful tutorial. Instead of copying everything manually, taking a screenshot is the quickest and easiest way to save exactly what you see.
I use screenshots almost every day because they make my work much easier. Whether I need to save information, create guides, share problems with friends, or keep records, screenshots help me do everything in just a few seconds. The best part is that Windows offers several built in methods to capture your screen, so you do not need expensive software.
In this article, I will explain every simple method to take screenshots in Windows. By the end, you will know which option is best for your needs and how to use it efficiently.
What Is a Screenshot
A screenshot is simply a picture of whatever is displayed on your computer screen. It captures everything exactly as it appears at that moment.
People use screenshots for many different reasons. Some save important documents, while others capture gaming moments, online classes, presentations, or technical problems. Screenshots are also useful for creating tutorials and sharing information with others.
Why Screenshots Are Useful
I personally believe screenshots are one of the most useful features in Windows because they save both time and effort.
Some common uses include
Saving online receipts
Keeping records of payment confirmations
Sharing computer errors with technical support
Creating educational tutorials
Saving social media posts
Capturing video frames
Recording online meetings
Saving important emails
Instead of writing long explanations, you can simply send a screenshot that shows everything clearly.
Method One Using the Print Screen Key
The easiest way to capture your entire screen is by using the Print Screen key.
Most keyboards have a key labeled Print Screen, PrtSc, or PrtScn.
When I press this key, Windows copies the entire screen to the clipboard. After that, I open Microsoft Paint or Microsoft Word and press Ctrl and V to paste the screenshot.
Once pasted, I can edit or save the image in different formats such as PNG or JPG.
This method is perfect when you want a quick screenshot without opening any additional tools.
Method Two Using Windows Plus Print Screen
If I want Windows to automatically save my screenshot, I use the Windows key together with the Print Screen key.
After pressing both keys, the screen briefly becomes dim, showing that the screenshot has been captured successfully.
Windows automatically saves the image inside the Screenshots folder.
You can find it by opening
Pictures
Screenshots
This is my favorite method because it saves time and does not require opening Paint first.
Method Three Using Alt Plus Print Screen
Sometimes I only need to capture the active window instead of the entire desktop.
In that situation, I press Alt together with the Print Screen key.
Windows copies only the currently active window to the clipboard.
After that, I simply paste it into Paint, Word, PowerPoint, or any image editing software.
This method helps avoid unnecessary cropping later.
Method Four Using Snipping Tool
One of the best screenshot tools included with Windows is the Snipping Tool.
I use it whenever I need more control over my screenshots.
To open it
Click the Start Menu
Search for Snipping Tool
Open the application
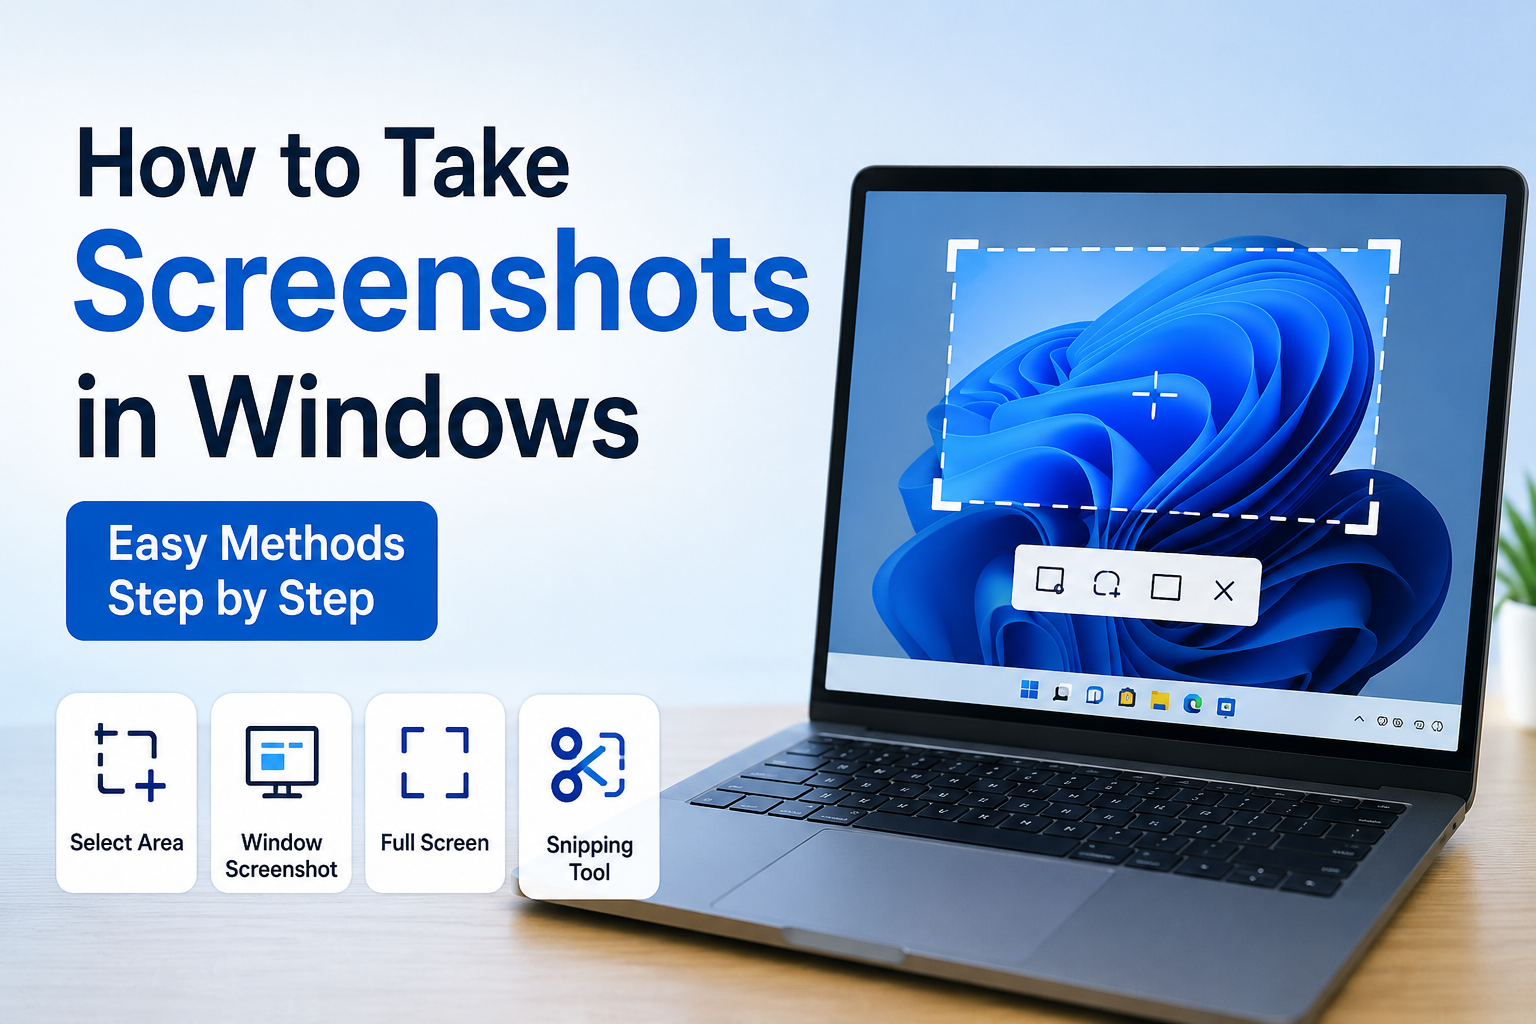
The tool offers several screenshot modes.
Rectangular Snip allows me to select a specific area.
Freeform Snip lets me draw around any shape.
Window Snip captures a single application window.
Fullscreen Snip captures the entire display.
After taking the screenshot, I can crop it, highlight important areas, write notes, or save it immediately.
I think this is one of the most powerful built in screenshot tools available in Windows.
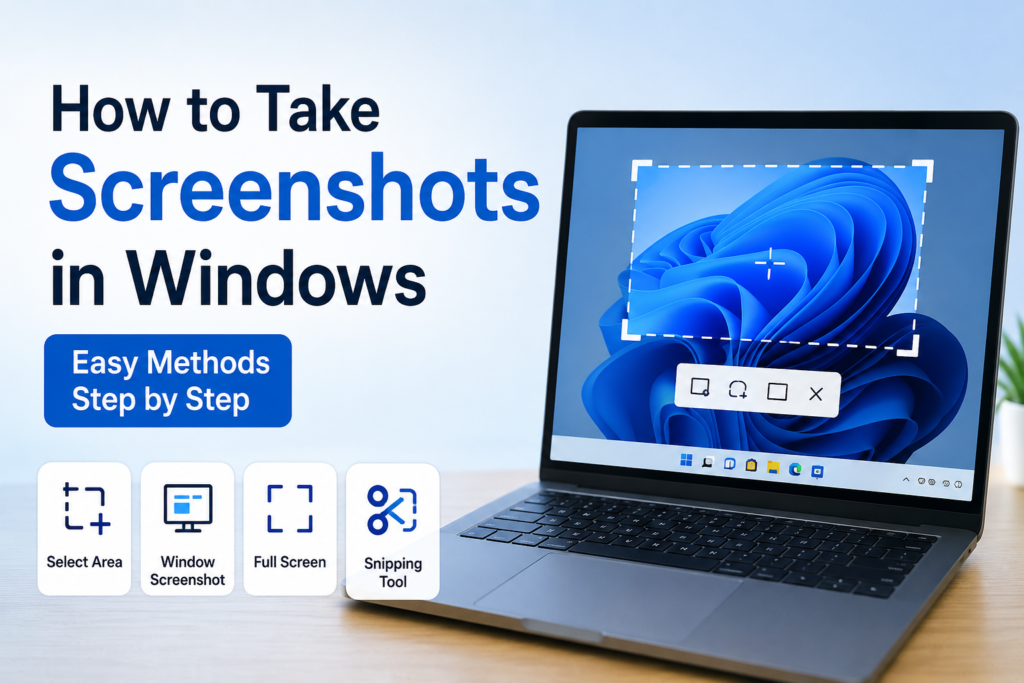
Method Five Using Windows Shift and S
This shortcut is probably the fastest modern way to capture screenshots.
Whenever I press
Windows
Shift
S
The screen becomes slightly darker, and a small toolbar appears at the top.
From there I can choose
Rectangle selection
Freeform selection
Window capture
Full screen capture
Once selected, Windows copies the screenshot to the clipboard.
A notification appears where I can click and edit the image inside the Snipping Tool before saving it.
I use this shortcut almost every day because it is quick and convenient.
Taking Screenshots on Windows 11
Windows 11 has improved the screenshot experience.
The Snipping Tool combines several older screenshot features into one application.
It offers
Delayed screenshots
Image editing
Cropping
Highlighting
Drawing tools
Easy sharing
Automatic saving
The interface is cleaner and much easier for beginners.
If you recently upgraded to Windows 11, you will probably enjoy using the updated Snipping Tool.
Taking Screenshots on Windows 10
Windows 10 also includes all the essential screenshot features.
You can still use
Print Screen
Alt Print Screen
Windows Print Screen
Windows Shift S
Snipping Tool
Snip and Sketch
These methods work smoothly and provide excellent image quality.
Where Windows Saves Screenshots
Many beginners wonder where their screenshots go after capturing them.
If you use Windows and Print Screen, the screenshots are automatically saved in
Pictures
Screenshots
If you use Print Screen alone or Alt Print Screen, the screenshot is copied to the clipboard instead.
You must paste it into an application before saving it.
Knowing where your files are stored makes them much easier to organize later.
Editing Screenshots
Sometimes the original screenshot contains extra information that I do not want to share.
Before sending it, I usually edit it.
Windows allows simple editing through the Snipping Tool or Microsoft Paint.
I often
Crop unnecessary parts
Highlight important text
Draw arrows
Blur personal information
Add notes
Resize the image
These simple edits make screenshots much more useful and professional.
Best Image Formats for Screenshots
Windows allows screenshots to be saved in different formats.
PNG is my first choice because it provides excellent quality without noticeable image loss.
JPG creates smaller file sizes, making it useful for uploading online.
PNG is ideal for tutorials, documents, and guides.
JPG works well for casual sharing.
Useful Keyboard Shortcuts
Here are the most important screenshot shortcuts that I regularly use.
Print Screen captures the entire screen.
Alt plus Print Screen captures only the active window.
Windows plus Print Screen captures and automatically saves the full screen.
Windows plus Shift plus S opens the screenshot selection tool.
Learning these shortcuts can save a lot of time every day.
Common Screenshot Problems
Sometimes screenshots do not work properly.
If your Print Screen key is not responding, try checking whether your keyboard requires the Function key.
Some laptops require pressing Function together with Print Screen.
If screenshots are not being saved, verify that the Pictures folder has not been moved or deleted.
Updating Windows can also solve screenshot related issues.
Restarting the computer often fixes temporary software problems as well.
Tips for Better Screenshots
I always try to keep my screenshots clean and easy to understand.
Before capturing, I close unnecessary windows and notifications.
I zoom in when text is too small.
I remove personal information whenever possible.
I use arrows or highlights to point out important details.
I also organize screenshots into separate folders so I can find them quickly later.
These simple habits make screenshots much more useful.
Third Party Screenshot Tools
Although Windows includes excellent screenshot features, some users prefer advanced software.
Popular screenshot applications offer additional features like scrolling screenshots, cloud sharing, video recording, annotations, and advanced editing.
However, for most everyday users, the built in Windows tools are more than enough.
I rarely need extra software because Windows already provides everything I need.
Conclusion
Taking screenshots in Windows is one of the simplest yet most useful computer skills anyone can learn. Whether you want to save important information, create tutorials, report technical problems, or share something interesting with friends, screenshots make the process quick and convenient.
I personally use different screenshot methods depending on the situation. For full screen captures, I prefer Windows plus Print Screen because it automatically saves the image. When I only need part of the screen, Windows plus Shift plus S is my favorite option because it gives me complete control over what I capture. The Snipping Tool is also an excellent choice whenever I need to edit or annotate my screenshots before sharing them.
The more you practice these methods, the faster they become. After using them for a few days, taking screenshots will feel like second nature. Windows has made this feature incredibly simple, and once you understand all the available options, you can choose the method that fits your workflow perfectly.