If you have ever seen a blue screen suddenly appear on your Windows 11 computer, you know how frustrating it can be. I have experienced this problem myself, and I understand how scary it feels when the system crashes without any warning. Most people think their computer is permanently damaged, but that is not always true. In many cases, the Blue Screen Error can be fixed by following a few simple steps.
Over the years, I have learned that the Blue Screen Error is usually a sign that Windows is protecting itself from a serious issue. Instead of continuing to run with damaged files or faulty hardware, the operating system stops to prevent further problems. The good news is that once you identify the cause, fixing the issue becomes much easier.
In this article, I will share the methods that have worked for me and many other Windows users. You do not need to be a computer expert to follow these solutions.
What Is a Blue Screen Error
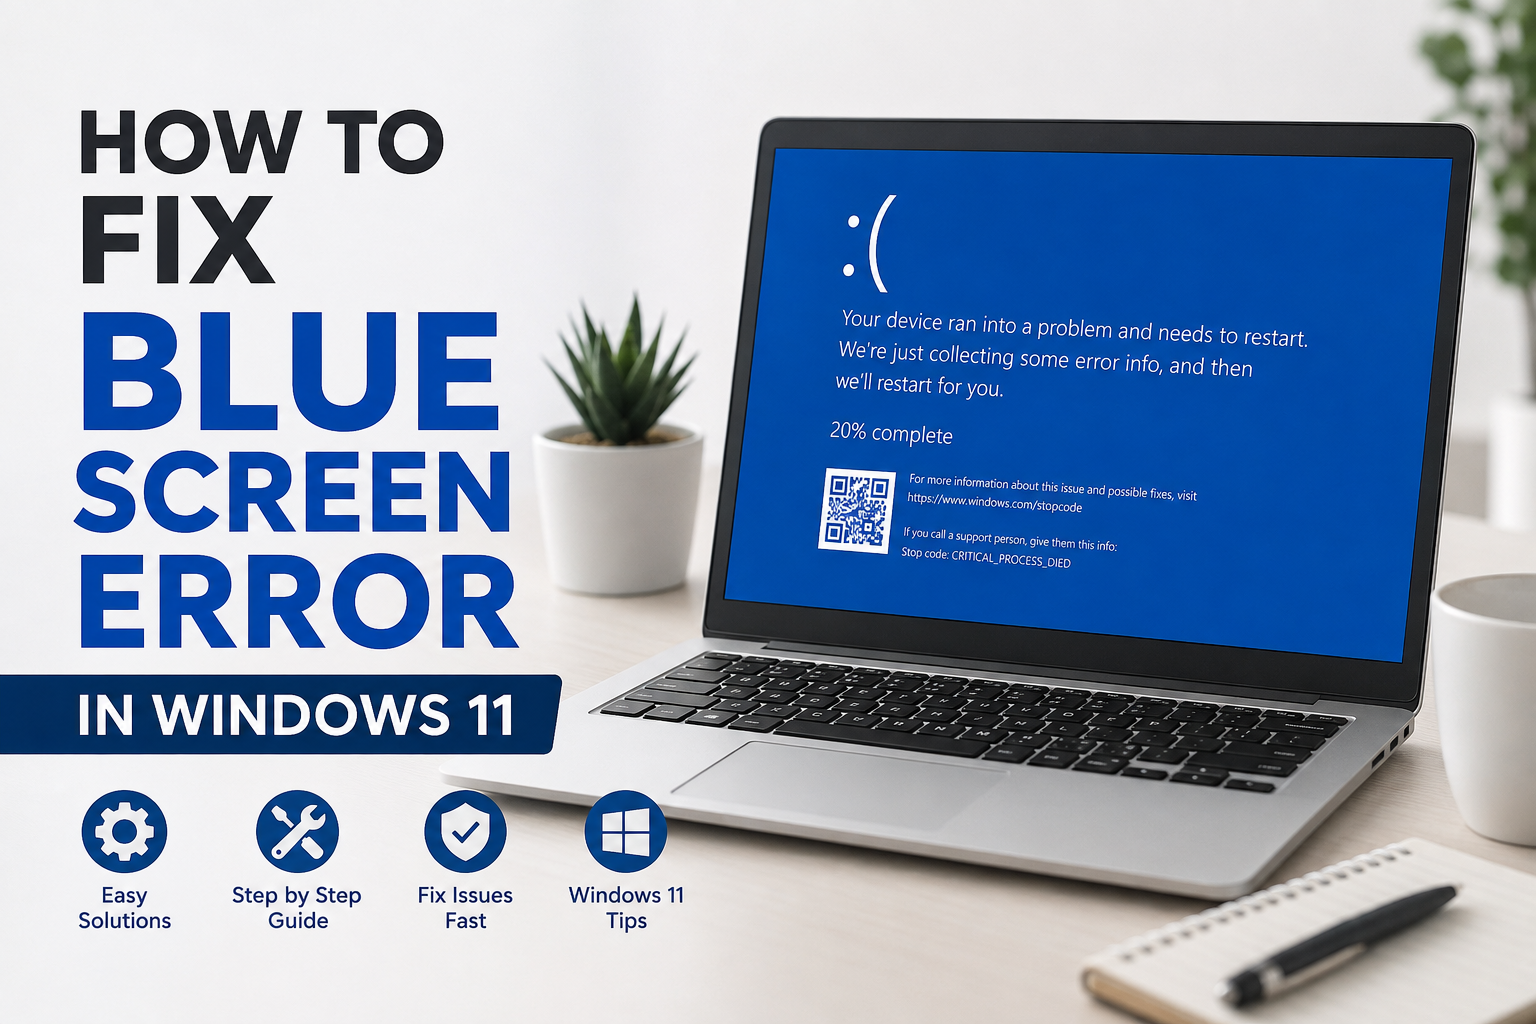
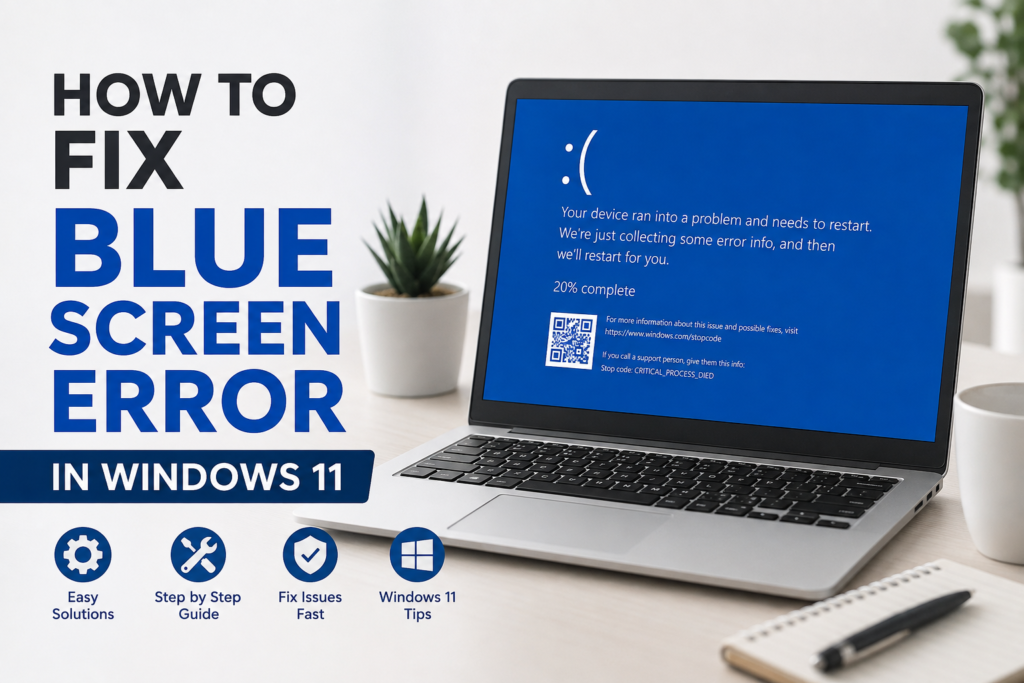
A Blue Screen Error, also called the Blue Screen of Death or BSOD, appears when Windows encounters a critical problem that it cannot recover from. The computer immediately stops working and displays a blue screen with an error message.
Sometimes the system restarts automatically after a few seconds, while other times it stays on the blue screen until you manually restart it.
This error may happen while gaming, installing updates, editing videos, or even when the computer is sitting idle.
Common Reasons Behind Blue Screen Error
Before trying any solution, I always like to understand why the problem happened. Knowing the cause helps avoid wasting time on unnecessary fixes.
Some common reasons include corrupted Windows system files, outdated drivers, faulty RAM, hard drive errors, overheating, incompatible software, failed Windows updates, virus infections, and hardware problems.
In many situations, more than one issue can cause the Blue Screen Error.
Restart Your Computer First
The first thing I always do is restart my computer.
Sometimes Windows crashes because of a temporary software glitch. A fresh restart clears temporary memory and reloads important system processes.
Although this may sound too simple, it has solved the problem for me several times.
If the Blue Screen appears only once and never comes back, there may not be any serious issue.
Disconnect External Devices
External devices can sometimes create driver conflicts.
I usually disconnect everything except the keyboard and mouse.
This includes USB drives, external hard disks, printers, webcams, gaming controllers, and memory card readers.
After disconnecting these devices, I restart the computer to see if the problem disappears.
If Windows works normally, one of the connected devices is probably causing the issue.
Update Windows 11
Keeping Windows updated is one of the easiest ways to avoid system crashes.
Microsoft regularly releases updates that improve stability, fix bugs, and patch security problems.
To check for updates, open Settings and go to Windows Update.
Click Check for Updates and install everything that is available.
Restart your computer after the installation finishes.
Many Blue Screen problems disappear after installing the latest updates.
Update Device Drivers
Old or damaged drivers are one of the biggest reasons behind Blue Screen crashes.
Graphics drivers, network drivers, storage drivers, and chipset drivers can all create serious problems.
Open Device Manager and look for any device showing a yellow warning icon.
Update those drivers first.
If you recently installed a new driver and the Blue Screen started afterward, rolling back to the previous version may solve the issue.
I always download drivers from the official manufacturer instead of unknown websites.
Run Windows Memory Diagnostic
Faulty RAM can easily trigger Blue Screen errors.
Windows includes a built in tool that checks memory for problems.
Search for Windows Memory Diagnostic in the Start menu.
Choose Restart now and check for problems.
The computer will restart and automatically scan your memory.
If Windows reports memory issues, replacing the faulty RAM may permanently solve the problem.
Check Your Hard Drive
Hard drive errors can damage Windows files and lead to system crashes.
Open Command Prompt as Administrator.
Type the following command.
chkdsk /f /r
Press Enter.
If Windows asks to schedule the scan after restart, type Y and restart the computer.
The scan may take some time, especially on large drives, but it is worth waiting because it repairs file system errors.
Repair Corrupted System Files
Corrupted Windows files are another common reason for Blue Screen problems.
Fortunately, Windows provides built in repair tools.
Open Command Prompt as Administrator.
Run this command.
sfc /scannow
Wait until the scan reaches one hundred percent.
If damaged files are found, Windows repairs them automatically.
I also recommend running the following command afterward.
DISM /Online /Cleanup Image /RestoreHealth
These two commands have helped me repair Windows many times without reinstalling the operating system.
Remove Recently Installed Software
Sometimes a newly installed application causes conflicts with Windows.
If the Blue Screen started after installing software, uninstall it and see if the issue disappears.
This is especially common with antivirus programs, system optimization tools, overclocking software, and outdated utilities.
Removing incompatible software often restores system stability.
Boot Into Safe Mode
If Windows crashes every time it starts, Safe Mode can help.
Safe Mode loads only essential drivers and services.
If your computer works normally in Safe Mode, the problem is probably caused by a driver or application rather than Windows itself.
From Safe Mode, you can uninstall problematic software, update drivers, or perform system repairs.
Scan for Malware
Viruses and malware can damage Windows files and trigger Blue Screen crashes.
I always recommend scanning the system with Windows Security.
Open Windows Security.
Select Virus and Threat Protection.
Run a Full Scan.
Removing malicious software not only fixes crashes but also improves overall system performance.
Check for Overheating
High temperatures can make your computer unstable.
Dust inside the computer blocks airflow and causes components to overheat.
I regularly clean cooling fans and air vents to keep my system running properly.
If you own a laptop, using it on a hard surface instead of a bed or pillow helps improve airflow.
Replacing old thermal paste can also reduce processor temperatures.
Remove Overclocking Settings
Many users increase processor or graphics card speed for better performance.
While overclocking can improve gaming, it also increases system instability.
If your computer is overclocked, restore the default settings in the BIOS or overclocking software.
Many Blue Screen problems disappear after removing unstable overclock settings.
Use System Restore
System Restore is one of my favorite Windows recovery features.
If the Blue Screen started recently, restoring Windows to an earlier date can solve the problem.
Search for Create a Restore Point.
Open System Restore.
Choose a restore point created before the issue began.
Windows will restore important settings without deleting your personal files.
Reset Windows 11
If none of the previous solutions work, resetting Windows may be the best option.
Open Settings.
Go to System.
Choose Recovery.
Select Reset this PC.
You can keep your personal files while Windows reinstalls the operating system.
This method fixes many software related problems without requiring a completely fresh installation.
Check Hardware Components
If the Blue Screen continues after reinstalling Windows, hardware problems become more likely.
Faulty RAM, damaged storage drives, failing power supplies, and overheating graphics cards can all trigger repeated crashes.
If possible, test each component individually.
Replacing defective hardware is often the only permanent solution.
Prevent Blue Screen Errors in the Future
After fixing the issue, I always follow a few habits that help keep my computer stable.
I keep Windows updated.
I install drivers only from official manufacturers.
I avoid downloading unknown software.
I regularly clean temporary files.
I create restore points before making major system changes.
I back up important files so unexpected crashes never result in data loss.
These simple habits have helped me avoid many Windows problems over the years.
Final Thoughts
The Blue Screen Error in Windows 11 may look frightening, but it is usually fixable with patience and the right approach. I always start with simple solutions such as restarting the computer, updating Windows, and checking drivers before moving to advanced troubleshooting steps. In most cases, one of these methods successfully resolves the problem.
If the error continues even after trying every software solution, it is worth checking the hardware because failing components are often responsible for repeated crashes. Regular maintenance, software updates, and good computer habits can greatly reduce the chances of facing another Blue Screen in the future.
I hope this guide helps you fix your Windows 11 Blue Screen Error quickly and safely. Follow each method step by step, and there is a strong chance your computer will return to working normally without needing expensive repairs.